1
Paper + Prep
Use letter sized (8.5” x 11”). (We recommend 90–120gsm, or 24–32lb, bright white.)
Have your 11 disc punch ready if you’re printing on plain letter sheets-- or purchase pre-punched discbound paper.
2
Printer Setup
Load letter paper into your printer tray. (Many printers have an adjustable tray for smaller sizes — check the guides to avoid slipping.)
In your print settings:
- Paper Size: Select letter
- Orientation: Portrait
- Scale: Set to 100% / Actual Size (never “Fit to Page”)
- Margins: Default is fine — inserts are designed for centered printing
3
Double-Sided Printing
- If your printer supports duplex:
- Choose Print on both sides → Flip on long edge
If not:
① Print odd pages
② Reinsert pages (test with 2 sheets to confirm orientation)
③ Print even pages
NOTE: My printer does not do a great job with pre-punched double sided printing. It often gets jammed on the second side. For me, printing and then punching the holes works best.
4
Test First
Always print 1–2 pages first to confirm margins and alignment before doing the full batch.
5
Punch + Place
If your paper isn’t pre-punched, use an A5 6-ring punch.
Insert into your Letter sized Daily Dashboard cover and enjoy your new pages!
Quick Fixes
- Too small? Check to make scaling is 100%/Actual Size
- Upside-down backs? → Switch “Flip on long edge” ↔ “Flip on short edge”
- Ink bleed-through? → Try heavier paper (100–120gsm)
Blog posts
View all-

How I Use the Daily Dashboard Meal Planner (Ful...
I think the reason why weekly meal plans don't work for a lot of families is because we're just planning around the food and not the family. When you can...
How I Use the Daily Dashboard Meal Planner (Ful...
I think the reason why weekly meal plans don't work for a lot of families is because we're just planning around the food and not the family. When you can...
-

The 30 Second Habit That Makes Tomorrow's Dinne...
Dinner usually isn’t stressful because cooking is hard- I think we all try to go out of our way to make weeknight dinners as easy to get to the table...
The 30 Second Habit That Makes Tomorrow's Dinne...
Dinner usually isn’t stressful because cooking is hard- I think we all try to go out of our way to make weeknight dinners as easy to get to the table...
-

If Your To-Do List is Longer Than Your Day, Rea...
There’s a special kind of frustration that shows up at the end of a busy day. You weren’t scrolling.You weren’t avoiding work.You were doing things all day long. And yet,...
If Your To-Do List is Longer Than Your Day, Rea...
There’s a special kind of frustration that shows up at the end of a busy day. You weren’t scrolling.You weren’t avoiding work.You were doing things all day long. And yet,...


-
Quarterly Subscription Box- Daily Dashboard Planner - Business + Home Edition
Regular price $39.00 USDRegular price$50.00 USDSale price $39.00 USDSale -
Quarterly Subscription Box- Daily Dashboard Planner - Journaler's Edition
Regular price $39.00 USDRegular price$50.00 USDSale price $39.00 USDSale -
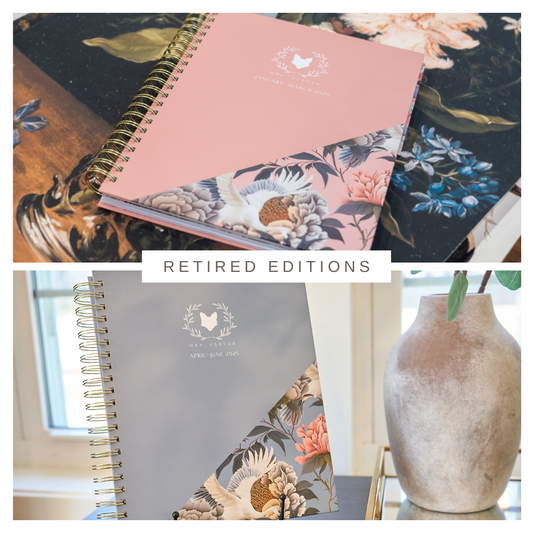
Retired 2025 Daily Dashboard Planners for Art, Upcycling and Journaling
Regular price $10.00 USDRegular price$48.00 USDSale price $10.00 USDSale